
Picture this: the last guest of your wedding is still waiting at the hotel, checking their phone, wondering if they’ll make it to the ceremony on time.
Does that scenario sound familiar, or are you hoping to avoid it altogether?
If you’ve ever asked yourself how to plan a wedding guest shuttle in Madrid, you’re in the right place – we’ve got the roadmap you need.
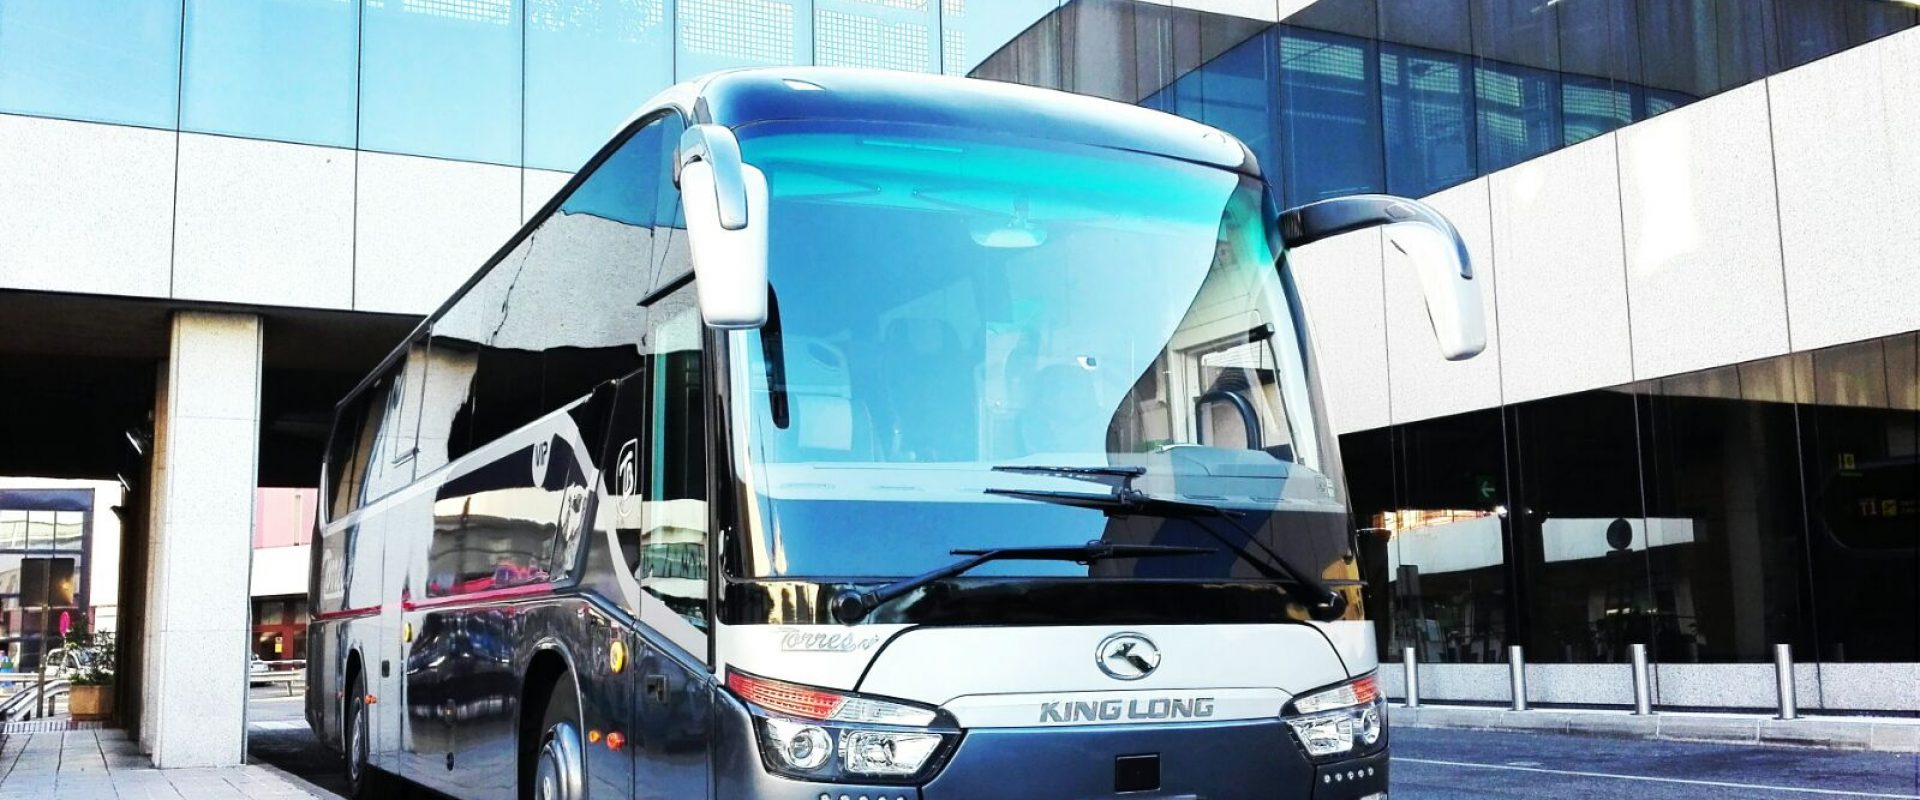
And the good news? Madrid’s transport options are surprisingly flexible, from sleek minibuses that slip through narrow streets to full‑size coaches that turn a group of thirty‑plus into a single, comfortable party.
But before you start scrolling through endless fleet photos, let’s pause and think about what really matters on your big day: timing, comfort, and that personal touch that makes guests feel cared for.
We’ve seen couples stress over a missed bus, or a cramped van that turns a joyful ride into a sore back story.
That’s why the first step in how to plan a wedding guest shuttle in Madrid is to map out your timeline – when the ceremony starts, when photos begin, and when the reception winds down.
Write those moments down on a simple spreadsheet, then work backwards: how much travel time does the venue need from the hotel? Add a buffer for traffic, especially if you’re heading through central Madrid during rush hour.
Next, count heads. It sounds simple, but a quick headcount of invited guests, plus a few extra seats for the bridal party, tells you whether a 12‑seat minibus or a 30‑seat coach is the sweet spot.
And don’t forget accessibility – Madrid’s fleet includes vehicles equipped for reduced mobility, so you can guarantee every guest, no matter their needs, arrives in style.
Once you know the size, reach out to a trusted local provider – someone like Torres Bus, who has been fine‑tuning wedding shuttles for over three decades. Their experience means they’ll handle permits, driver coordination, and any last‑minute changes without breaking a sweat.
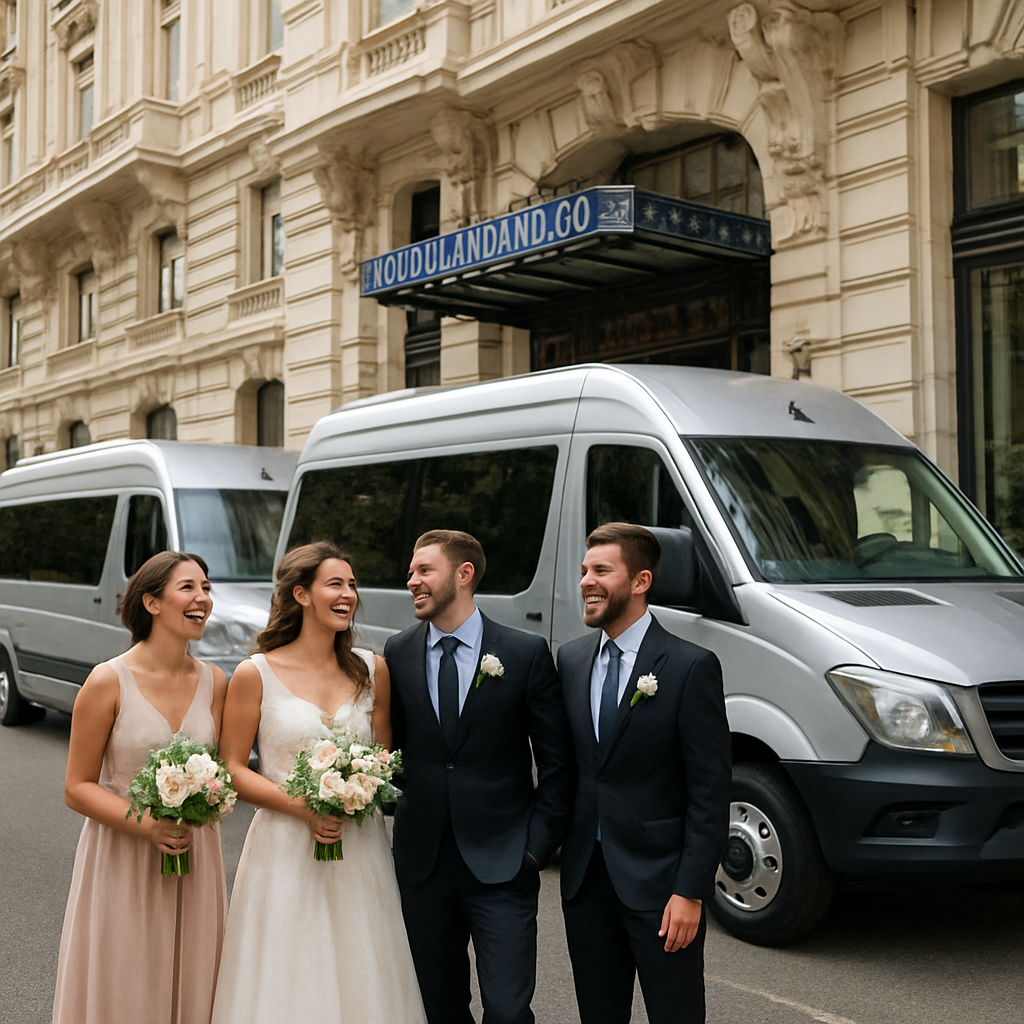
So, picture your guests stepping onto a clean, air‑conditioned vehicle, greeted by a friendly driver who knows the fastest route to the venue. They relax, chat, maybe share a laugh, and arrive exactly when they need to – no frantic calls, no awkward standing.
That’s the feeling we aim to give you – a seamless, worry‑free start to your celebration, so you can focus on saying ‘I do’ and dancing the night away.
TL;DR
Planning a wedding guest shuttle in Madrid means syncing timing, picking capacity, and hiring a local provider so your guests glide from hotel to venue.
Choose Torres Bus, add a traffic buffer, confirm accessibility, and book early to guarantee a smooth, stress‑free start to your celebration on your big day.
Step 1: Assess Guest List and Transportation Needs
First thing’s first: you need to know exactly who’s coming and how they’ll get there. It sounds obvious, but the moment you sit down with your spreadsheet you’ll see tiny details that can make or break the shuttle experience.
Grab your guest list and create three columns – name, hotel (or drop‑off point), and any special mobility needs. If Aunt Marta uses a wheelchair, flag it now so you can match her with a PMR‑adapted van later. That single line saves you a frantic phone call on the day of the ceremony.
Now count heads. Don’t just add the total RSVP number; add a safety buffer of 5‑10 % for plus‑ones, late confirmations, and the bridal party. If you end up with 58 confirmed guests, you might plan for 65 seats.
But size matters more than just the headcount. A 12‑seat minibus feels cramped for a group of 30, while a 30‑seat coach might sit half‑empty and waste money. To find the sweet spot, check out our guide on coach capacity – it walks you through the typical seat layouts and how to match them to your guest mix.
Think about the timeline, too. How long is the ride from the hotel to the ceremony venue? In central Madrid, rush hour can add 20‑30 minutes. Add a traffic buffer and you’ll avoid the dreaded “we’re running late” text from the driver.
Here’s a quick checklist you can paste into your notes:
- Total guest count + 5‑10 % buffer
- Special accessibility requirements
- Preferred pickup locations (hotel lobby, train station, etc.)
- Estimated travel time + traffic buffer
- Vehicle size options (minibus vs. coach)
Once you have those numbers, you can start scouting the right provider. Torres Bus, for example, offers everything from 7‑seat luxury vans to 70‑seat coaches, all with driver‑included permits. Knowing your exact seat count lets you ask for a precise quote instead of a vague “we’ll need a bus.”
Speaking of precision, modern route‑planning tools can shave minutes off your itinerary and even suggest greener routes. If you’re interested in an eco‑friendly edge, the Selene AI route optimizer from roadtripAI can model traffic patterns and electric‑vehicle feasibility for your shuttle fleet.
And while you’re thinking about the ride, why not give your guests a style tip? A quick link to elegant designer dresses for wedding guests adds extra value and makes the whole experience feel curated from start to finish.
Now, let’s watch a short video that walks you through the typical steps of loading guests, checking luggage, and confirming the driver’s route.
Notice how the driver greets each guest by name and confirms the destination before pulling away. Small gestures like that turn a simple shuttle into a memorable part of the day.

Finally, write everything down in a master shuttle sheet: guest name, pickup point, vehicle assigned, driver contact, and departure time. Share that sheet with your wedding planner and the bus company so everyone is on the same page.
When the day arrives, you’ll have a clear picture of who’s riding, which vehicle they’re in, and exactly when they’ll be on the road. No surprises, no stress – just a smooth glide from hotel to ceremony, leaving you free to focus on saying “I do.”
Step 2: Choose the Right Vehicle Type and Capacity
Now that you’ve nailed the headcount, the next puzzle is picking the vehicle that will actually fit your guests and the streets of Madrid.
Do you picture a sleek 12‑seat minibus squeezing through the narrow alleys of Salamanca, or a roomy 30‑seat coach cruising past the Royal Palace?
Here’s the easy way to think about it: start with your core guest numbers, then layer on any special needs, and finally factor in the venue’s access limits.
If you have 20‑30 people who need to stay together – maybe the bridal party and close family – a luxury van with 20‑25 seats works like a charm. It’s small enough to park near historic sites, yet spacious enough for a welcome bottle of sparkling water.
But what if your guest list stretches to 50 or more? A mid‑size coach with 45‑50 seats gives everyone room to stretch, and you can even add a small luggage rack for those extra wedding shoes.
And don’t forget accessibility. Madrid’s fleet includes PMR‑adapted minibuses that have wheelchair lifts and extra space. If any of your grandparents or friends use a wheelchair, earmark one of those vehicles early – the best drivers reserve them first.
Now, let’s translate those ideas into a quick decision matrix. The table below lines up the most common vehicle options you’ll find in Madrid, the seat range each offers, and the sweet spot scenario for each.
| Vehicle Type | Seats | Ideal Use |
|---|---|---|
| Minibus (7‑15) | Up to 15 | Small groups, narrow streets, quick hops between hotels |
| Mid‑size Coach (30‑45) | 30‑45 | Medium‑sized parties, venues with loading docks, comfortable for longer rides |
| Full‑size Coach (50‑70) | 50‑70 | Large guest lists, multiple stops, includes accessibility options |
Take a look at the table and ask yourself: does the minibus column match my venue’s parking constraints? If the answer is yes, you’ve saved money and avoided a traffic nightmare.
A quick video walk‑through can help you visualise the interior layout of each vehicle type – see the difference between a low‑floor coach and a high‑roof van.
Notice how the driver’s cabin is positioned for easy communication; you’ll want a driver who can greet guests by name, especially when you’re shuttling people between multiple hotels.
So, which vehicle feels right for your day?
Tip: always add a 5‑10% buffer to the seat count. That tiny cushion covers last‑minute RSVPs, a child who brings a plus‑one, or an extra pair of shoes that won’t fit in the luggage rack.
If you’re watching the budget, remember that a larger coach isn’t always pricier per head. Splitting a 50‑seat coach into two trips can actually lower the per‑person cost compared to hiring two 20‑seat vans.
Coordinate the vehicle type with your timeline: a smaller van can depart later and still arrive on time for a tight ceremony, while a coach may need a few extra minutes to pull into a designated loading zone.
Your next move? Write down three options – minibus, mid‑size coach, and fully‑accessible bus – and check them off against guest count, venue access, and any special needs. Then call your trusted provider, like Torres Bus, to lock in the model that ticks all the boxes.
Step 3: Calculate Costs and Budget Allocation
Alright, you’ve got your guest list, you know which vehicle fits the streets of Madrid, now it’s time to turn those nice‑to‑haves into actual numbers.
First, grab a fresh spreadsheet – think of it as your wedding’s financial GPS. In the left column write each vehicle option you’re considering (12‑seat minibus, 30‑seat coach, wheelchair‑adapted bus). Across the top, label the rows “Base Rate,” “Driver Fee,” “Fuel & Toll,” “Parking/Loading,” and “Extras.”
Break down the basics
Base Rate is the amount the company quotes for the vehicle per hour or per trip. Most Madrid operators, including Torres Bus, charge a flat daily rate for weddings because they know you’ll need the bus for a few pick‑ups and a return.
Driver Fee usually sits on top of the base – it covers the professional behind the wheel, any overtime, and sometimes a tip if you feel generous. It’s often a fixed €50‑€80 per day, but ask for a written breakdown so you don’t get a surprise on the invoice.
Fuel & Toll might look like a small line item, but Madrid’s traffic can turn a short 20‑km hop into a pricey fuel bill, especially if you’re traveling during rush hour. Ask the provider for an estimate based on your exact route; many will give you a “fuel surcharge” percentage to keep things simple.
Add the hidden costs
Parking at historic venues can be tricky. Some hotels charge €10‑€15 per vehicle for a reserved spot, while city streets might need a temporary permit that runs €20‑€30. Include those numbers right under the “Parking/Loading” row.
Extras are where you can really personalize the ride – think welcome water bottles, a floral garland on the driver’s door, or a portable sound system for a short playlist. Those little touches usually cost €5‑€10 per guest, so multiply them by your headcount and pop the total into the “Extras” column.
Don’t forget a safety buffer. A common practice is to add a 5‑10 % cushion to the total cost, just in case you need an extra hour, a last‑minute seat, or a rain‑day backup vehicle.
Calculate cost per guest
Now that you have a line‑by‑line total for each vehicle, divide that figure by the number of seats you actually plan to fill. For example, a 30‑seat coach at €800 total works out to about €27 per head, while two 12‑seat minibuses at €500 each end up around €42 per guest.
Notice the difference? Bigger buses often win on a per‑person basis because the fixed costs spread out. But if your venue has tight access, the smaller vans might save you time and stress, which is priceless on your wedding day.
Tip: run the same calculation for a “split‑trip” scenario. Maybe you’ll run the coach twice – one trip to the ceremony, another back for the reception. Split‑trip costs can sometimes be lower than hiring two separate vehicles, especially when driver fees stay flat.
Put it all together in a budget slice
Take the per‑guest cost you just derived and slot it into your overall wedding budget. If you’ve allocated 5 % of the total budget to transportation, check whether the numbers fit. If they don’t, you have two levers: negotiate a better rate (ask for a discount if you’re booking early) or adjust the vehicle mix.
Remember, the cheapest option isn’t always the best. A cramped van might save €100, but if guests arrive sweaty and irritated, that could cost you in wedding vibes. Prioritize comfort and punctuality – they’re the real ROI.
Finally, create a quick “budget checklist” you can hand to your planner or the bus company:
- Vehicle type and seat count
- Base rate + driver fee
- Fuel/toll estimate
- Parking/permit costs
- Extras (water, décor, music)
- 5‑10 % contingency
- Total cost and cost per guest
When you walk into the contract with those numbers in hand, you’ll feel confident that every euro is accounted for, and you can focus on the fun part – watching your guests glide into the venue, stress‑free.
Step 4: Book the Shuttle Service and Confirm Details
Alright, you’ve done the math, you’ve picked the perfect vehicle, and you’ve even penciled in a budget slice. Now it’s time to lock the shuttle in before someone else snaps up that sleek 30‑seat coach.
1. Reach out and lock the date
Give Torres Bus a call or drop them a quick email. Mention your ceremony date, pick‑up locations, and the number of round trips you need. A seasoned provider will usually ask for a brief “event brief” – think of it as a mini‑checklist that confirms the guest count, accessibility needs, and any special touches (welcome water, floral garland, a playlist).
Pro tip: ask for a written confirmation within 24 hours. A simple PDF that states vehicle type, seats, driver name, and departure times becomes your safety net if anything changes.
2. Review the contract line by line
Contracts can feel like a foreign language, but treat every line like a conversation with your future driver. Verify the base rate, driver fee, fuel surcharge, and any extra costs for parking permits or night‑time service. If the contract mentions “additional mileage” make sure the estimate covers the round‑trip from your hotel to the venue and back.
Don’t forget the “cancellation policy.” Most Madrid operators allow a free cancellation up to two weeks before the event, but the fee can jump to 50 % after that. Knowing the cut‑off date lets you stay flexible if a guest list shifts.
3. Confirm accessibility and extras
If you have grandparents in a wheelchair or a guest traveling with a pet, flag those details now. Torres Bus runs PMR‑adapted minibuses with lifts, so a quick note in the contract prevents a last‑minute scramble.
Extras like bottled water, a small floral wreath on the driver’s door, or a Bluetooth speaker for a soft playlist are usually “add‑ons.” Get a clear price per guest so you can roll the cost into the budget checklist you built earlier.
4. Share the final itinerary with your wedding team
Once the contract is signed, create a one‑page itinerary: shuttle departure times, pick‑up addresses, driver contact, and a backup phone number. Email this to your planner, the venue coordinator, and the bridal party. If you use a wedding website, post the shuttle schedule there so guests can double‑check the details.
It’s also wise to copy the itinerary into your day‑of “master timeline” – the same spreadsheet you used for headcount. That way, when the driver calls to confirm the 4:30 pm pick‑up, you can instantly verify it matches the rest of your schedule.
5. Do a pre‑event walk‑through (if possible)
Some couples like to meet the driver a day before the wedding. A quick walk‑through of the loading zone at the venue can reveal hidden steps, low curb heights, or tight alleyways that the driver needs to navigate. It also gives the driver a chance to memorize guest names if you’ve provided a list.
If a site visit isn’t feasible, ask the provider for photos of the exact parking spot they plan to use. Visual confirmation saves you from a surprise “no‑parking” sign on the big day.
6. Final checklist before you hit “send”
- Vehicle type, seat count, and any accessibility features confirmed.
- All rates (base, driver, fuel, parking, extras) written down.
- Cancellation deadline and refund terms noted.
- Driver name, phone, and backup contact recorded.
- One‑page itinerary shared with planner, venue, and guests.
- Backup plan in place – a second vehicle or taxi service if the primary shuttle breaks down.
When everything is in writing, you can breathe easy. The shuttle is booked, the details are double‑checked, and you’ve turned a logistical headache into a smooth part of your wedding story.
Need a reminder of why a professional coordinator can make this easier? full‑service wedding planners often handle transportation logistics from start to finish, freeing you to focus on the romance.
Step 5: Plan the Day‑Of Logistics and Communication
Okay, the shuttle is booked, the vehicle is chosen, and the contract is signed. Now the real magic happens: making sure everything runs like clockwork on the big day.
Do you ever feel that knot in your stomach thinking, “What if the driver gets lost or the bus runs late?” Let’s squash that worry with a solid day‑of plan.
Create a master timeline for the shuttle
Grab the spreadsheet you used for the overall wedding schedule and add a column just for transport. Write down every pick‑up time, address, and the exact minute you expect the bus to leave each spot.
Tip: build in a 10‑minute buffer between each stop. Madrid traffic can surprise you, especially around Plaza Mayor during rush hour.
Next, note the “must‑be‑there” moments – the ceremony start, the photo window, and the first dance. Align the last shuttle departure so guests aren’t left standing outside the reception.
Coordinate with your driver
Give the driver a copy of the timeline at least two days before the wedding. Include a quick map screenshot of each pick‑up location, plus any gate codes or loading‑zone instructions.
Ask the driver to confirm the following:
- Vehicle type and seat count
- Accessibility features (ramps, lifts) if needed
- Contact numbers – both the driver’s mobile and a backup number
- Exact hand‑off point at the venue (door, loading dock, curb)
Ask them to do a quick phone check the morning of the event: “Hey, I’m on my way, see you at 4:20 pm.” A brief call removes any doubt.
Set up guest communication
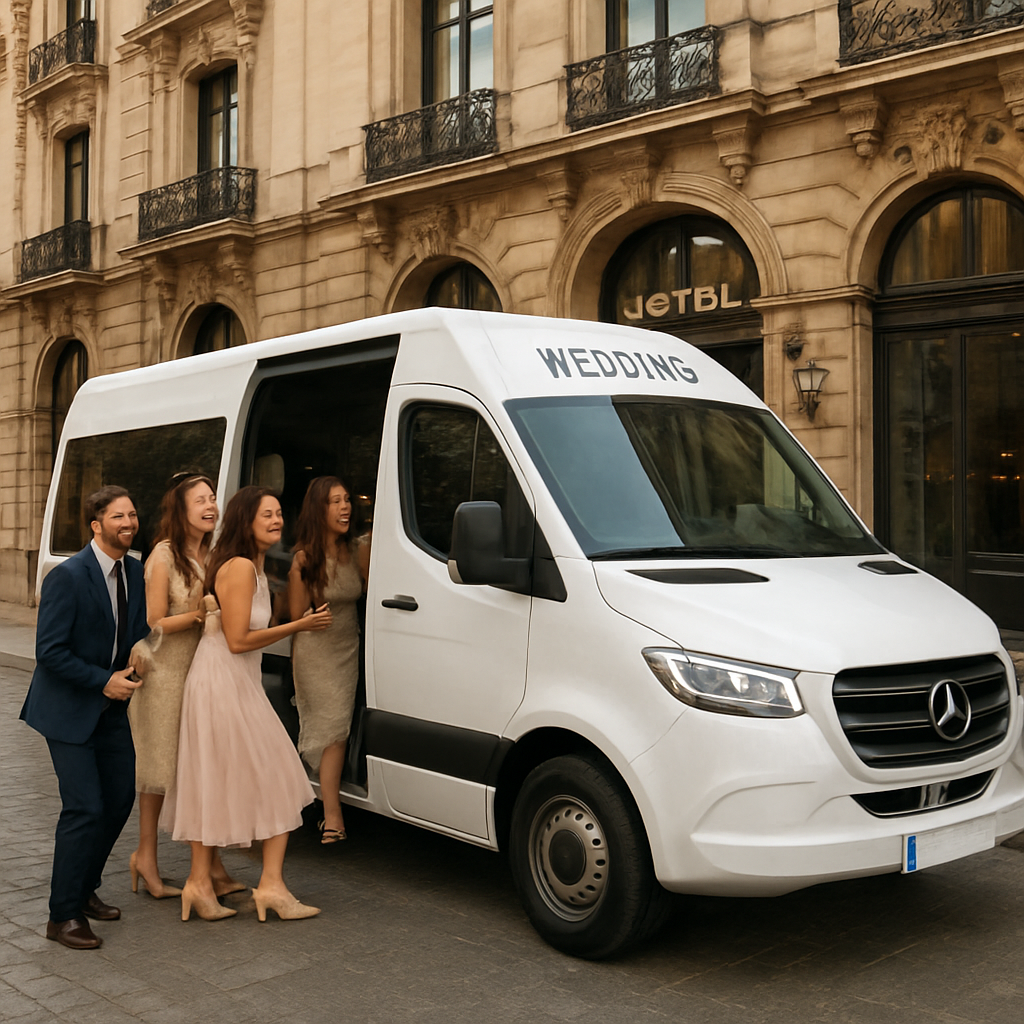
Send a friendly reminder to your guests 48 hours before the wedding. Keep it short: “Your shuttle will pick you up at Hotel XYZ at 4:30 pm. Look for a white minibus with a “Wedding Shuttle” sign.”
Include a link to a simple map (Google Maps) and a phone number they can text if they’re running late. A quick “We’ll wait 5 minutes, then head out” note can save a lot of panic.
If you have a wedding website, add the shuttle schedule to the “Travel” tab. Use bold text for the times so it stands out.
Plan for the unexpected
Even the best‑planned day can throw a curveball. Here’s a short checklist you can print and stick on the fridge:
- Backup vehicle contact – a local taxi service or a second minibus on standby.
- Extra water bottles and a small snack in case of delays.
- Battery charger or power bank for the driver’s phone.
- Rain plan – a covered waiting area at the hotel lobby.
- Contact sheet with driver, venue coordinator, and your own phone, all listed in the same order.
Talk to the venue ahead of time about any loading‑zone restrictions. Some historic sites require a permit; ask the venue manager to arrange it or have the driver bring the paperwork.
Finally, do a quick run‑through the night before. Walk to the pick‑up spot, check the signage, and make sure the driver knows which side of the road to park on. That one‑minute walk can reveal a hidden curb or a construction zone.
When the day arrives, stick to the timeline, keep your phone handy, and trust the professional driver you’ve hired. You’ll watch your guests glide onto the bus, laugh, and arrive at the ceremony right on cue.
Take a deep breath – you’ve nailed the logistics, and now you can focus on the “I do” part of the day.
Conclusion
You’ve just walked through every piece of the puzzle, from counting heads to locking in a driver.
So, what does it all mean for how to plan a wedding guest shuttle in Madrid?
First, the numbers matter – a solid headcount, a 5‑10 % buffer, and the right vehicle size keep stress at bay.
Second, the details win – a written itinerary, a backup contact, and a quick walk‑through of the loading zone turn “maybe” into confidence.
Third, the human touch matters – a friendly driver who greets guests by name, a bottle of water, and a clear text reminder make the ride feel like part of the celebration, not just logistics.
Remember the checklist you printed: backup vehicle, extra bottles, charger, rain plan, contact sheet. Keep it on the fridge or in your phone notes, and you’ll have a safety net if anything goes sideways.
On the day itself, breathe. Trust the timeline you built, watch the bus glide in, and let your guests enjoy the moment while you focus on saying “I do.”
If you haven’t yet, reach out to a seasoned Madrid provider like Torres Bus – they’ll handle permits, accessibility, and that extra peace of mind you deserve.
Ready to turn all that planning into a smooth, stress‑free ride? Grab your checklist, give the driver a quick call, and enjoy the ride to your big day.
FAQ
How early should I book a wedding shuttle in Madrid?
Ideally you lock in your shuttle at least three months before the big day. That gives the provider enough time to reserve the right vehicle, secure any permits for historic venues, and accommodate last‑minute guest changes. If you’re planning a popular summer wedding, a four‑month lead time is even safer, because demand for coaches spikes around June and July.
What size vehicle is right for a guest list of about 30 people?
A 30‑seat mid‑size coach usually hits the sweet spot: it offers enough room for a few extra seats (the 5‑10 % buffer we always recommend) without being too big for narrow Madrid streets. If your ceremony is in a tight historic plaza, a 20‑seat luxury van can still work—just be sure to check the loading zone dimensions with the venue.
Do I need a backup shuttle, and how do I arrange one?
Yes, a backup plan saves you from a worst‑case scenario like a breakdown or sudden rain‑day traffic jam. Ask your provider to keep a spare vehicle on standby for a short window (usually one hour) and get the driver’s contact details in advance. A quick email confirming the backup’s availability and cost will keep everything transparent.
How can I make the shuttle experience feel personal for my guests?
Start with a friendly driver who greets guests by name—most Madrid operators let you upload a guest list beforehand. Add a small welcome touch, such as a bottled water, a printed itinerary, or a short playlist of your favorite love songs. Even a simple “Welcome to the celebration!” sign on the bus door creates a warm, memorable vibe.
What hidden costs should I watch for when budgeting the shuttle?
Beyond the base rate, keep an eye on fuel surcharges, especially if you travel during rush hour, and any parking or loading‑zone permits required by historic sites. Some companies also charge extra for night‑time service, driver overtime, or optional extras like bottled water. Adding a 5‑10 % contingency to your total budget cushions these unpredictable fees.
Can I request wheelchair‑accessible transport for elderly guests?
Absolutely. Torres Bus offers PMR‑adapted minibuses with ramps and secure wheelchair spaces. Notify the provider at least two weeks ahead, provide the exact dimensions of the wheelchair, and confirm that the driver has been briefed on operating the lift. Having the accessibility details in the contract prevents any last‑minute scrambling on the day.
What’s the best way to communicate shuttle details to my guests?
Send a concise reminder 48 hours before the wedding via email or your wedding website. Highlight the pick‑up time, location, and a brief description of the vehicle (e.g., “white minibus with ‘Wedding Shuttle’ sign”). Include a clickable map link and a phone number for the driver, and encourage guests to text if they’re running late. A quick SMS the morning of the event adds an extra layer of reassurance.